
How to Hang your Bat House on a Metal Pole: Step-by-step Hanging Guide
August 31 2022 – Harrison Broadhurst
Have you decided to hang your bat house on a metal pole? Wonderful! Putting up a bat house is one of the best ways you can help save bats and also sustainably reduce pest insects from your yard, and mounting a bat house on a metal pole is an excellent option for a number of reasons.
Pros:
- Flexibility: You’re able to put poles almost anywhere. You have more control of positioning your bat house further from tree branches or footpaths, closer to water, or in a select spot that receives ample sunlight.
- No Branches: Poles work better than tree trunks because poles don’t have branches. Tree branches can be used by predators as perches, and can also block the sunlight bat houses need to stay at a preferred temperature
- Temperature Regulation: Because there’s no wall behind them, bat houses mounted on poles tend to lose more heat in the evening. So you’ll want to compensate for it by either painting your bat house a darker shade, or placing the pole somewhere that gets even more direct sunlight.
- Few Extra Steps: Mounting on a metal pole requires a few extra steps than mounting it on a wooden pole, but we will walk you through the process here to help make it easy for you!
For more information on choosing the best location for your bat house, see our “Bat house placement tips” If you have decided on a location already, we recommend checking it out anyway in order to confirm that the location offers you the right features that bats will love. Choosing a good location is crucial for bat house success.
In this article, we will guide you through a step-by-step process on how to hang your new BatBnB on a metal pole, using BatBnB’s included quick mounting system.
If you want to mount your bat box on a wall or a wooden pole, see these guides instead.
If you’re a visual learner (like myself) and you prefer to watch the installation step-by-step process rather than reading it, see our “Metal Pole hanging guide” video guide here.

But for the readers, let’s dive in!
INCLUDED PARTS
With your BatBnB, you will receive:
1 MOUNTING CLEAT
These come pre-attached to the back of your BatBnB unit and function by gripping the mount piece.

1 MOUNT
Attach this piece to the surface you want to hang your BatBnB from. The side with the smaller surface area should connect with the hanging surface.

1 SAFETY BRACKET
Small metal bracket is attached on the lower back side of your BatBnB that will act as a safety mechanism against any lifting forces such as strong winds.

6 SCREWS
Screws that will attach the mount to your hanging surface.

TOOLS NEEDED
-
DRILL
- Phillips-head bit or Phillips-head screwdriver
-
LEVEL
-
POLE
- Minimum 20 ft tall
-
1 SHOVEL OR POST HOLD DIGGER
-
1 BAG OF CONCRETE
-
2 DETACHABLE REMOVABLE D-RINGS
- Diameter should fit pole’s diameter snuggly
-
1 PIECE OF WOOD
- 1’’x6’’x54’’ LXWXH
- 1’’x6’’x54’’ LXWXH
SIMPLE HANGING PROCESS:
There are several different ways you can secure the wooden BatBnB to a metal pole. In this example, we will show you how you can mount the wooden mounting piece onto a wooden board, and then secure that board to the metal pole using D-rings.
Note: You have the option to either insert the pole in the ground, and then hang the bat house, or secure the bat house on the pole and then insert the pole (with the attached bat house) in the ground. Either way it makes little difference, but do be aware that it may change the order of your steps.
ATTACHING THE BATBNB:
STEP 1: DRILL HOLES FOR THE D-RINGS
Place the first D-ring holding bracket roughly 4 inches from the top of the 1x6 wooden board.
Place the second D-ring holding bracket on the wooden board approximately 4 feet below the first one. (You want to make sure the bat house has enough room to comfortably between these two brackets; allow roughly four inches of additional space on either side between the bat house and the bracket).

Make sure the brackets are level, and then use a pencil to mark the position of the 4 holes.
Obtain a drill bit that fits the size of your D-ring, and pre-drill the holes.

Note: You may want to insert a bit of scrap wood beneath the board. This will prevent the wood from splitting when the drill bit exits, and it will also prevent you from drilling into the floor.

STEP 2: SECURE THE MOUNTING PIECE
Place the included BatBnB mounting piece about 4 inches below the top set of pre-drilled holes.

When placing the mounting piece, make sure the side with the smaller surface area is against the board. The wide pre-drilled holes should be facing you.
Make sure the mounting piece is level, and secure it with the included screws using either a drill or screwdriver.
STEP 3: PLACE THE BATBNB
Slide the cleats on the back of the bat house onto the mounting piece.

STEP 4: SECURE THE SAFETY BRACKET
Adjust the bottom metal bracket so that it points straight down, and secure it with a screw.

Now your bat house is fully mounted on the board, and ready to be attached to the metal pole!
ATTACH THE BAT HOUSE USING D-RINGS
STEP 1: ATTACH THE D-RINGS
Loop the D-rings around the back of the pole, and place the D-ring through the pre-drilled holes in the wooden board. If it does not fit, you may need to pre-drill the holes again using a larger drill bit.

Once the D-ring is all the way through, place the D-ring’s holding bracket onto the front of the board.

Now slide the entire board all the way to the top of the metal pole. To give your bat house the best chance for success, it should be hung at least 15 feet above the ground.

Once it is in place, tighten the bolts on the D-rings using a wrench until the board is firmly secured to the pole.
Now the pole is ready to be inserted in the ground!
SETTING UP THE POLE:
STEP 1: CHOOSE THE LOCATION
Choosing a good location greatly affects the success of your bat house, so see our tips on choosing a good location for your bat house here.
Before digging your hole, make sure there are no wires or utility lines underneath that you could accidentally cut in the process! Depending on where you live, you can contact 811 (https://call811.com/) to find out what areas are safe to dig into.
STEP 2: DIG THE HOLE
Once you have a good location in mind, dig the hole roughly 3-4 feet deep using either a shovel or a post-hole digger. Ensure the hole is wide enough to accommodate the pole’s width. Using a post-hole digger helps simplify the digging process.

STEP 3: INSERT THE POLE
Make sure you have at least 2-4 people to help with this step. (The pole can be heavy and we don’t want anyone getting hurt!) Slowly lower the pole into the pre-dug hole.

Once inserted, hold the pole steady (either with several hands or with a built wooden brace) until the pole has been secured in place.
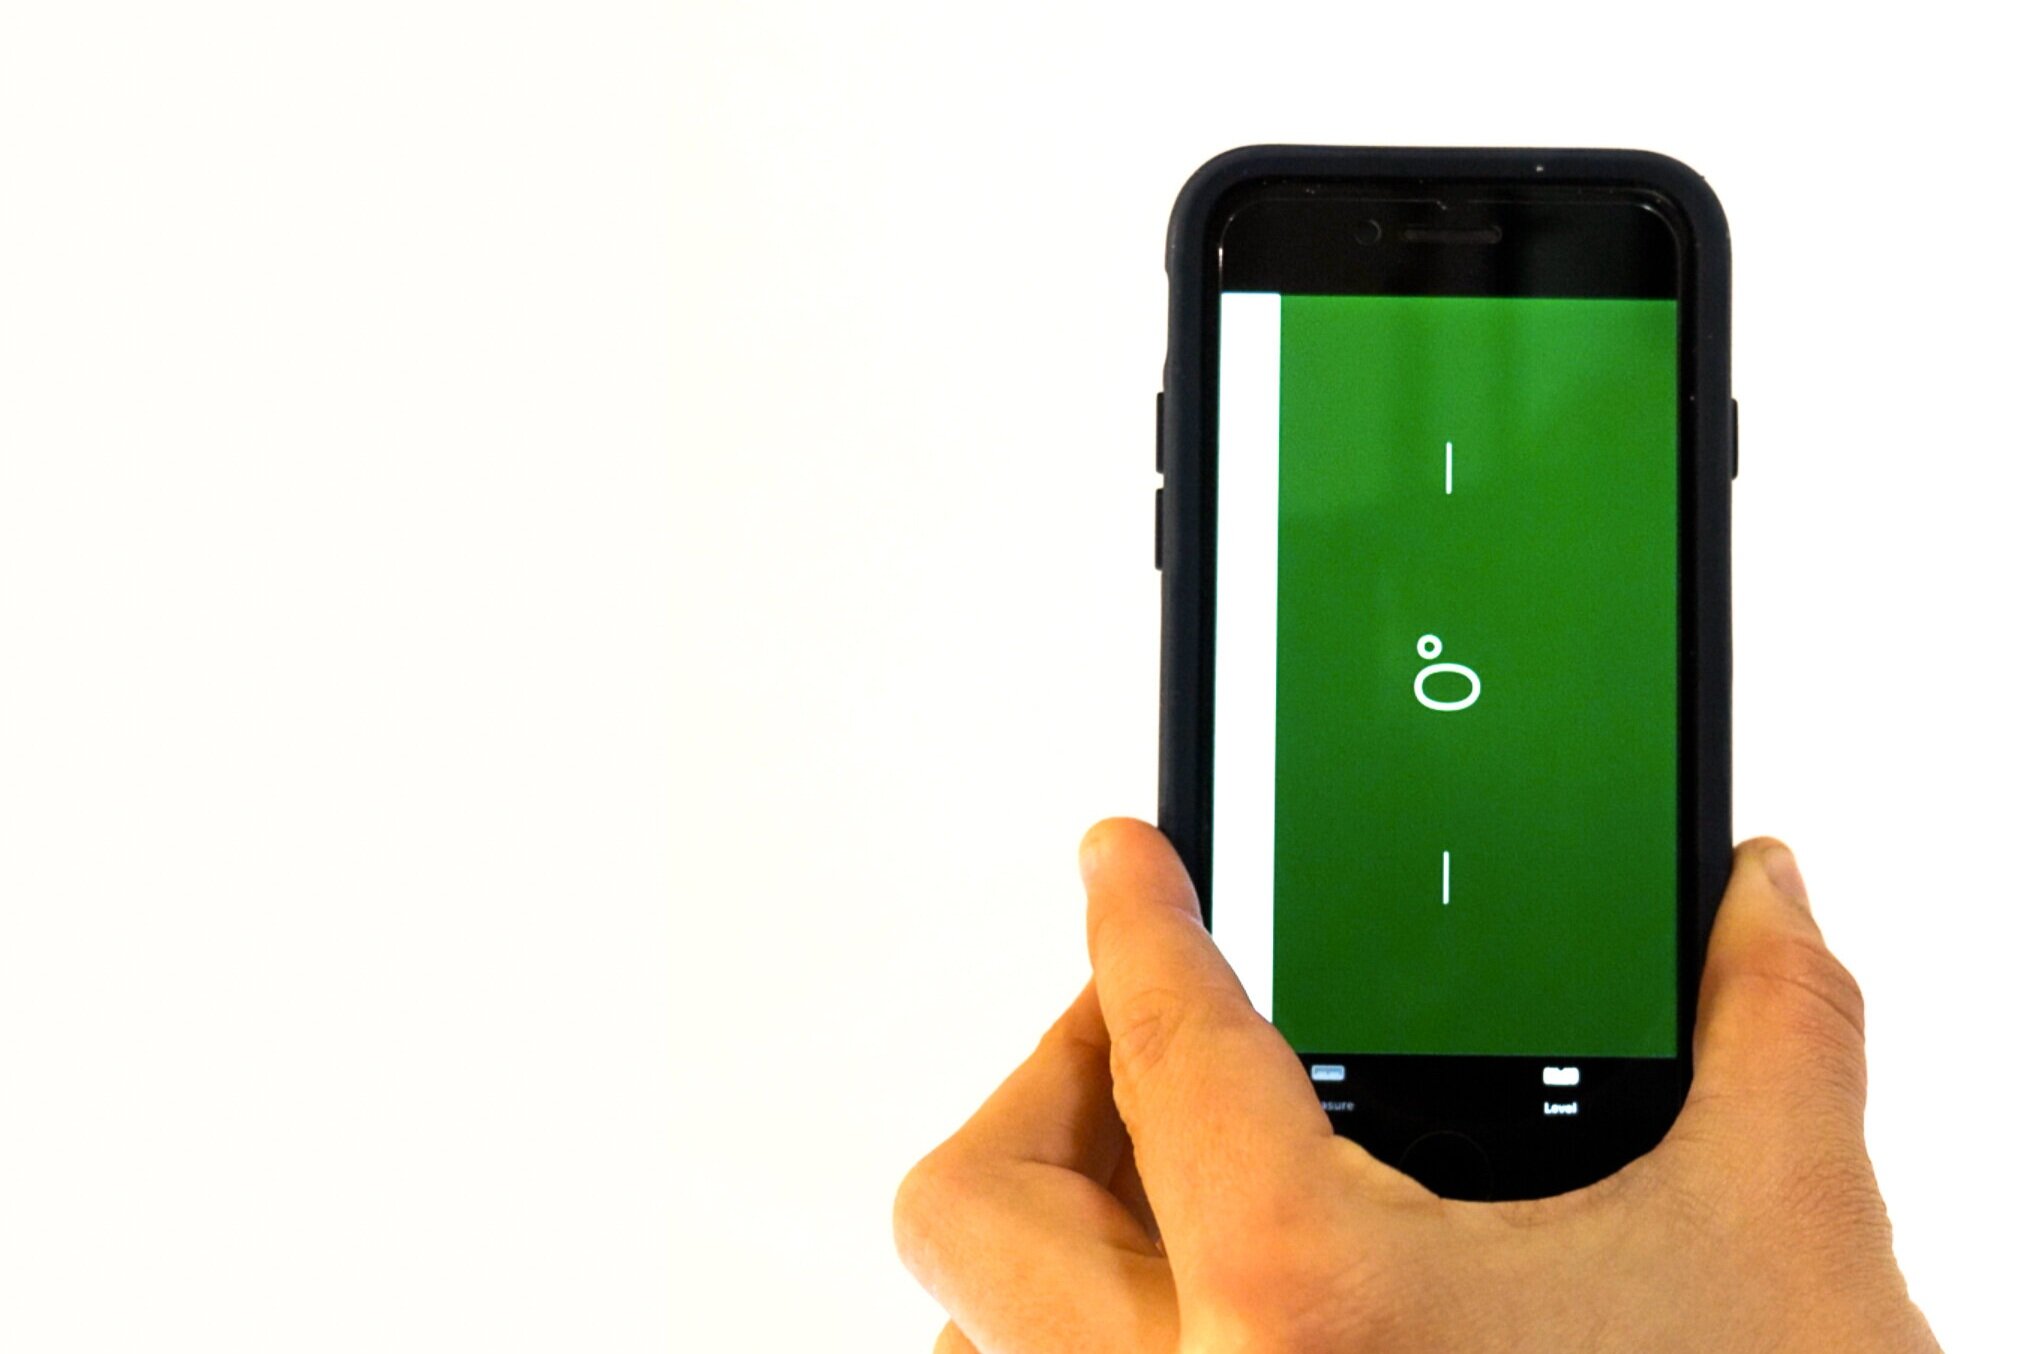
STEP 4: LEVEL THE POLE
Orient the pole so that it’s facing the desired direction. (See our orientation tips here!)
Once in position, make sure the pole is standing upright using a level (or even a level on a smartphone). Be sure to check all sides of the pole to correct any leaning.
STEP 5: SECURE THE POLE
You can stabilize your pole using either approximately 1 bag of traditional concrete, or roughly 1 bag of the quick-setting Quikrete. If you use traditional concrete, you will want to nail in a few wooden support beams so that the pole remains in position while the concrete sets.

Rather than purchasing a concrete mixer, you can simply mix the concrete in the hole by alternating pouring concrete and water. Use a metal rod to thoroughly mix the two together.
If your pole-hole is quite wide, you may need additional bags of concrete.
Be sure to double check the level of the pole after this step is completed.

That’s it! Your BatBnB is fully functional. Thank you for providing these important mammals with a safe place to live.
If you would like to inspire others to help save the bats, share a photo of your newly installed bat house on social media using #BatBnB or send it to us in an email at support@batbnb.com. We may just feature you! You can also leave us a review at https://www.facebook.com/batbnb/reviews.
We hope you found this guide helpful! Check out our other videos and articles for more bat house guides and FAQs!
Interested in getting a bat house? BatBnBs are excellent quality, expert-approved bat houses. Check them out here! Just look at what our clients are saying:
“I recently bought two bat boxes from BatBnB and love them! They are well-made and attractive and come with a book that has a lot of great information about bats and about the best place and way to hang the boxes. We put ours up at our house and within a week had one bat already living in it! We hope he invites all of his friends!”
— SHARON G. NC

SAFETY FIRST!
Hanging a BatBnB 15+ feet up can be scary! Seriously, we want you to be careful. If you’re not comfortable climbing a ladder while carrying the heavy BatBnB, find a friend to assist you or hire a local contractor to help. Take any additional cautionary steps to keep yourself safe, and always treat the animals with respect. When cleaning bat droppings (or any type of animal droppings) one should take precautions to avoid inhaling dust.
1 comment
Hello,
I would like to follow your guide to mounting my bat house. Would you mind giving me some detail about the pole itself? Is it something I can find at Home Depot or Lowe’s? Can I use a flag pole? etc. Thank you in advance for you assistance and for the guide you provide online.
- Jennifer